
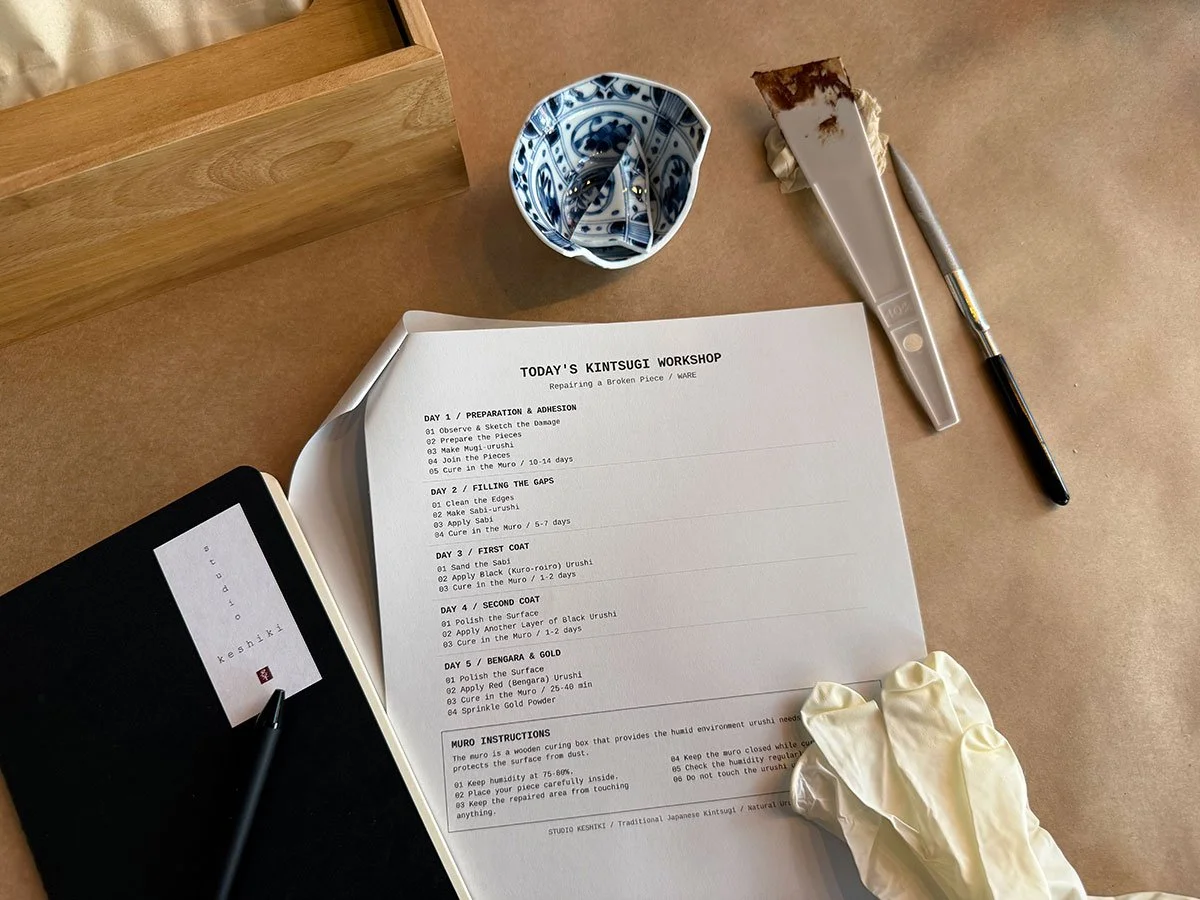
Your Kintsugi Journey: Video Tutorials
A Special Tutorial for Our NY Workshop Guests
Welcome to Your Step-by-Step Kintsugi Tutorial!
This five-part tutorial series will guide you through the entire kintsugi process, one step at a time.
Scenes 2 and 3 are now available. Enjoy learning and practicing at your own pace as we continue to add the remaining scenes to guide you toward completing your kintsugi piece.
Scene 02
Filling the Gap with Sabi-Urushi
After the mugi-urushi has cured in the muro, carefully clean the bonded areas and remove any excess lacquer.
Next, prepare sabi-urushi (lacquer-based filler) and apply it to fill the gaps and crevices along the repaired joints.
The quality of the final finish depends on how carefully the sabi-urushi is applied. Be sure to fill every joint, including the smallest grooves and gaps.
Scene 03
First Coat with Black Urushi
After the sabi-urushi has cured in the muro, carefully wet-sand the surface using sandpaper or charcoal until it is smooth and level with the surrounding ceramic.
Next, use a maki-e brush to apply the first coat of black urushi. Apply a thin, even layer, making sure to cover all areas of the sabi-urushi without leaving any gaps.